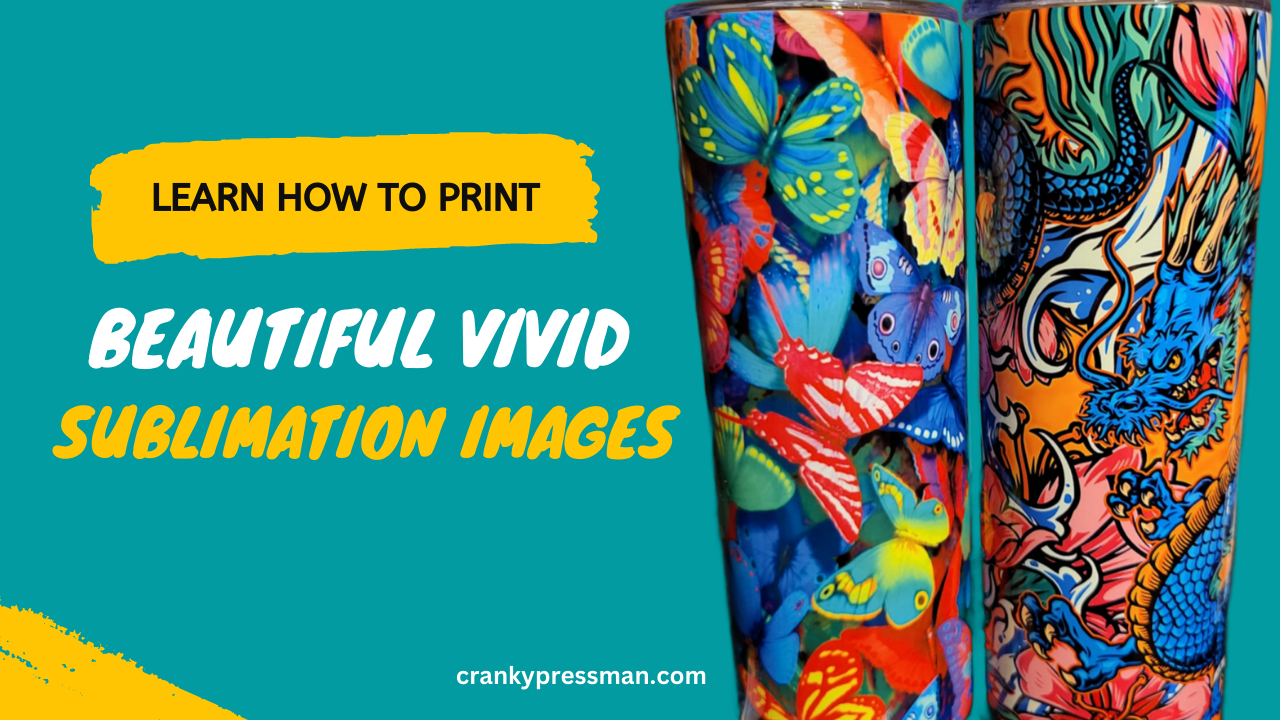
Sublimation for Images: How to Print Sublimation Images
Sublimation printing is a great craft method to transplant your vibrant designs onto a wide range of materials, from t-shirts to tumblers. Learning how to print sublimation images is just another string to your bow as a sublimation artist, but one well worth having.
I thought I’d write a guide on the critical aspects of image sublimation to understand: what stays the same as standard sublimation printing, but also what changes in order to create detailed and high-quality images sublimated onto whatever surface you require.
Can you use images in sublimation printing?
Sublimation is a process by which you transfer your designs from paper to a substrate, using specially designed sublimation ink. When heat is applied, the design transfers to the substrate, bonding on a molecular level.
All this to say that it is possible to sublimate with images – in fact, any sublimation design is technically an image already. However, there are some key elements to be aware of before committing to sublimation printing an image.
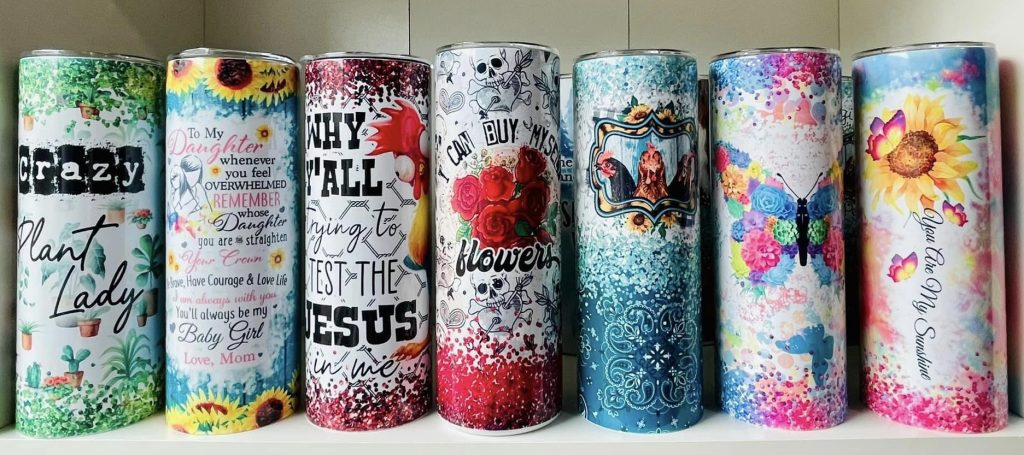
Not every material is suitable for sublimation: I primarily use synthetic fibers such as polyester as they are able to withstand the high temperatures needed for sublimation. More natural fabrics, such as cotton, can be sublimated onto in blended substrates with extra care.
Sublimation for Images: What You Need
The equipment required for sublimating images is the same as any other standard sublimation process, but I’d recommend having higher-quality versions of the following components.
The most important item that you need for sublimating images is a high-quality sublimation printer. Whilst that may sound obvious, the most important factor in sublimating images is the print resolution: the level of detail of the print is essential for images. For most logos and graphics, this is less important as most are made from block colors with minimal detail, but sublimating images requires a greater level of clarity.
Printer resolution is measured in Dots per Inch (DPI)
Most affordable sublimation printers for beginners have a resolution of 300 DPI, which isn’t enough for sharp images. More advanced units boast higher resolutions, such as the Sawgrass SG500 which has a 1440DPI resolution. A resolution of this scale or higher is ideal for sublimation printing images.

- Sawgrass Virtuoso SG500 sublimation printer. Brand new.
- Sublijet UHD Sublimation Inks CYMK (starter kit ink cartridges).
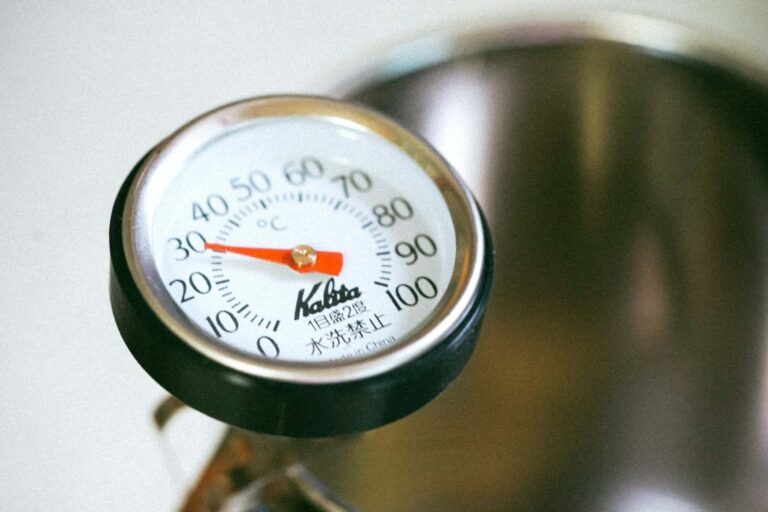
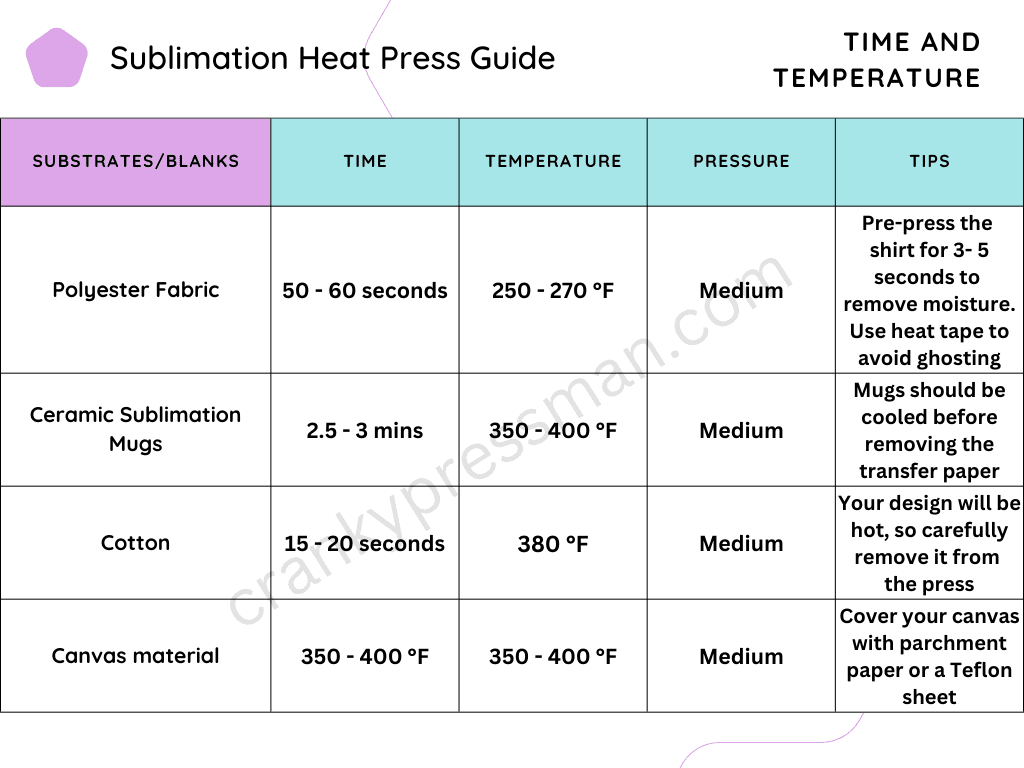
The other essential to invest in is a quality heat press machine. In order to consistently gain the appropriate temperatures needed for sublimating on different substrates, a heat press requires both high heat capacity and balanced pressure. Depending on what you plan to sublimate onto, you may need a different model such as a tumbler heat press, so be sure to check compatibility.
Here’s a handy guide to the most common heat press settings for different substrates:
Finally, the other core element I’d invest the most into is sublimation ink. Whilst you should always aim for the best sublimation ink you can afford, it’s more important than ever for sublimating images. The best inks allow for better and more vibrant color reproduction, so you can get depth and brightness from your sublimated images.
Sublimation for Images: What to Do
Always run a test print to check your printer for errors before creating any important sublimation designs.
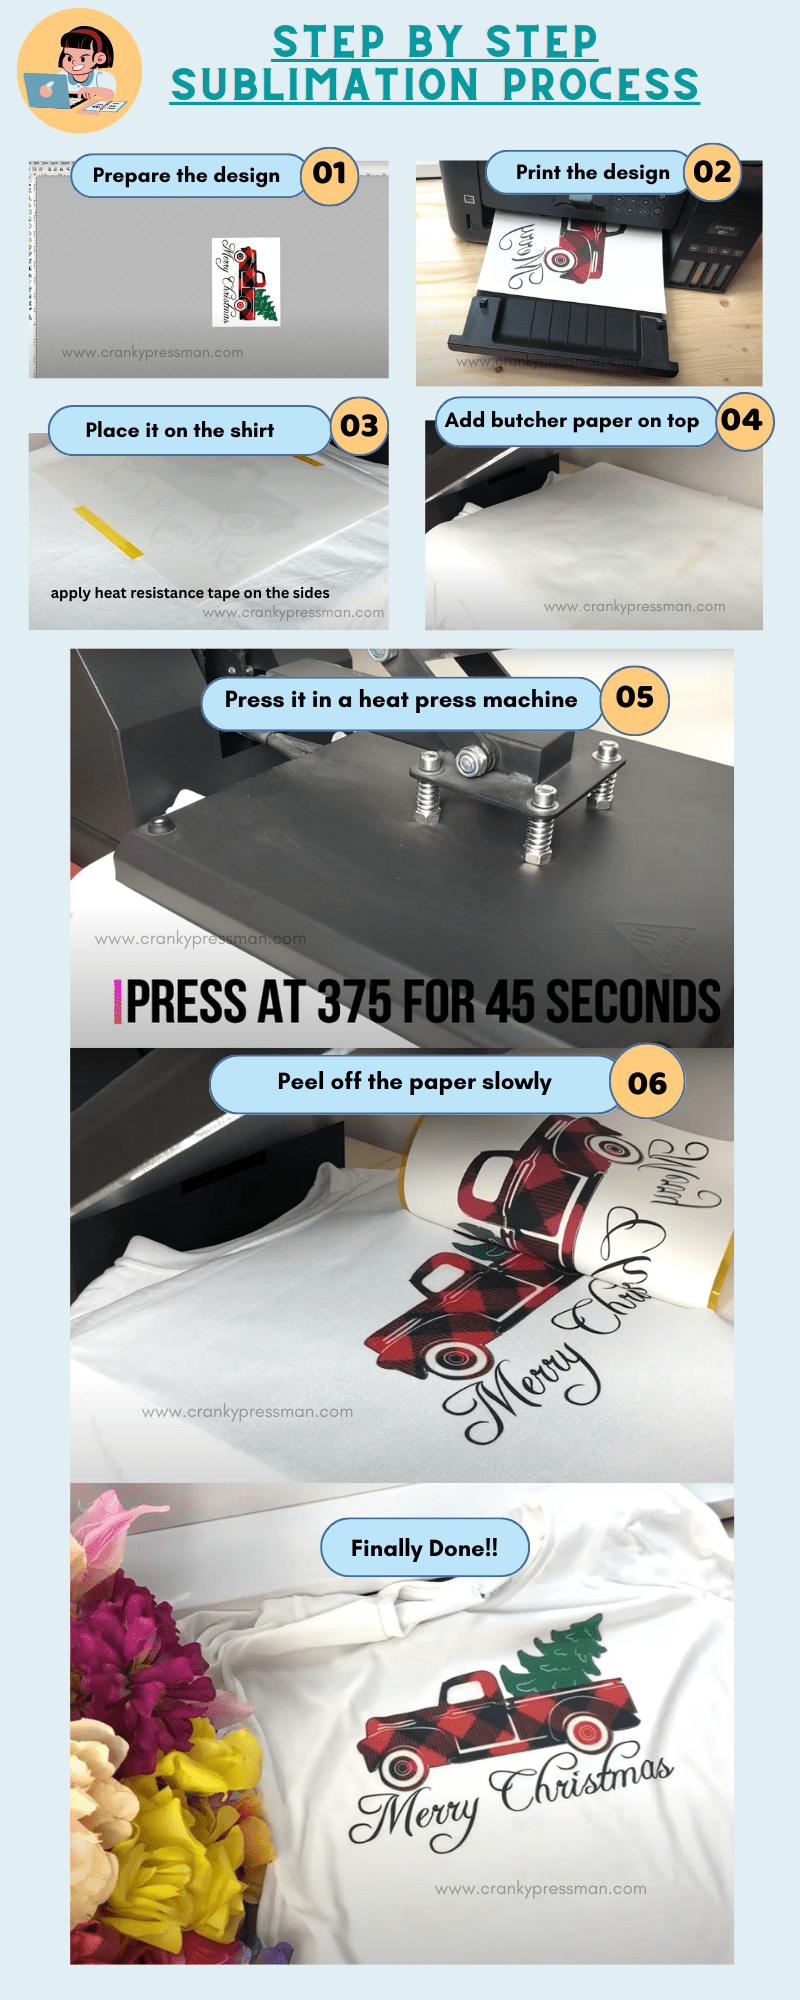
As mentioned, the process for sublimating images is largely the same as standard sublimation, only the image should be of the highest possible resolution that your printer can achieve. Remember that the design will be mirrored when it printers, and to put the flipped side down on the chosen substrate. Here’s a step-by-step guide using a polyester t-shirt as an example:
Sublimation for Images: Common Issues
I’d love to say that sublimation works perfectly every time. However, in reality, there are some issues that you can run into if you aren’t careful. I’ve detailed the most common ones, and how you can avoid them:
Poor Image Quality
If your image isn’t printing out to a high enough standard, there could be a few root causes. The first cause could be a print error, which is why we always recommend running a test print in order to flare up any issues preemptively.
You should also frequently clean the printheads on your sublimation printer with a slightly moist towel or sponge, and make sure it’s dry before using.
The other issue could be with the image itself. Make sure that you’ve configured your print settings correctly for a high-resolution print. Additionally, ensure that the design isn’t natively too low a resolution. Unless your image was taken on a very high-megapixel camera, there will be a ceiling to how high a resolution it can reach.
Faded Colors
If your resulting sublimation print has particularly desaturated or faded colors, this is not an explicit fault of the printer. Many sublimation printers have quite poor default color configurations, which can make for poorly-realized designs.
To fix this, install an appropriate ICC Color Profile. These effectively communicate to the printer different color settings to ensure that colors are more true to your original design. I personally also slightly increase the saturation and contrast in the print settings – but only by a little – to get more vibrant designs.
Sublimation Bleeding
Whilst a heat press is ideal for sublimation due to the large, even pressure it applies to the substrate, the heaviness of many of the presses can move the sublimation paper unintentionally. This can create “bleeding”, where colors and shades run across the design.
In order to prevent this, I recommend using heat-resistant tape to secure the design in place, meaning that it won’t move when you lower or release the press.
Sublimation Blurring
If your sublimated design has what looks like blurred elements, it generally means that there was a gap between the sublimation paper and the substrate. This can be caused by excess moisture, creases, or simple folds in the paper.
To prevent this, make sure to flatten any excess creases or wrinkles in both the paper and the substrate. If your substrate is a clothing item such as a hoodie or bag, give it a pass with an iron and make sure it’s completely dry before sublimating. If it’s a solid material such as a mug or plate, make sure to securely press the sublimation paper against it. No matter the case, make sure the design is flat against the material.
You can also quickly press fabric substrates in the heat press for a few seconds to remove any creases from aligning it in the machine.
Sublimation Burning
Heat presses run at temperatures in the hundreds of degrees, and whilst there isn’t a high risk of fire, pressing your sublimation for too long can result in browned or burned-looking designs.
To prevent, make sure that you don’t run your heat press for longer than necessary. As detailed above, each substrate has a recommend temperature and time setting to adhere to. The best heat presses often come with automated releases with a timer, so that you don’t have to manually release the press.
Marbling
If your sublimated image is coming out with small specks or artefacts that ruin the color, that’s known as “marbling”. It’s generally caused by trapped moisture, either in the sublimation ink or in the substrate.
Make sure your sublimation print is fully dry before applying it to the substrate to avoid marbling. Similarly, make sure your substrate is suitably dry.
FAQs
Most sublimation printers run without a specific white ink, as most sublimation is done onto white or light shades. However, there are workarounds to sublimate with white or onto dark colors.
No: Sublimation printers are specialized pieces of equipment using sublimation ink, and therefore cannot print standard documents or images. Even converted Epson printers cannot be re-converted to regular printers
Final Word
Sublimation with images is an exciting new prospect for craft enthusiasts and small businesses: providing the option to transfer valued memories or personal portraits onto a range of custom clothing and accessories. I hope you’ve learned all you need to know about how to print sublimation images, and that you can carry this forward into your new ventures.
For more on the latest tips and troubleshooting – including answers to why the sublimation isn’t transferring – stay tuned with me here at the Cranky Press Man.