How To Sublimate On Cotton
Are you tired of being limited to sublimating on only certain materials? Do you want to add some spice and creativity to your cotton fabrics?
Well, look no further because we have the solution for you! In this article, you will get to know different methods that allow you to sublimate onto cotton using vinyl products such as Siser EasySubli, glitter HTV, clear HTV, and Siser Glow HTV.
No longer do you have to settle for plain cotton shirts or fabrics? With these techniques, you can now add vibrant designs and patterns to your favorite cotton pieces.
Whether it’s a t-shirt, tote bag, or any other cotton item, the possibilities are endless with sublimating on cotton.
So roll up those sleeves and let’s get started on transforming your plain cotton items into unique works of art!
Materials Needed
Now that you know how to sublimate on cotton using different vinyl types, let’s talk about the materials you’ll need to get started. Don’t worry, it’s not too complicated! Think of it like baking a cake – you need the right ingredients to make it work.
- First and foremost, you’ll need a sublimation printer. This type of printer uses special ink that turns into gas when heated and transfers onto your substrate (in this case, cotton). You can find affordable options online or at craft stores.
- Next, you’ll need heat transfer vinyl (HTV) in either EasySubli, glitter, clear or Siser glow. These HTVs are designed for use with sublimation transfers and will provide excellent results.
- To prepare your cotton substrate for sublimation, you’ll also need butcher paper or a Teflon sheet to protect your heat press from any excess ink that may bleed through during the transfer process. And don’t forget a squeegee for burnishing!
With these simple materials on hand, you’re ready to start experimenting with different designs and personalization options for all of your cotton items.
Overall, getting started with sublimating on cotton is easier than you might think once you have the right tools at your disposal.
Related: our guide to the best sublimation printers in 2023.
With just a few basic materials and some creativity, you can create unique designs that add personality and flair to any cotton item in no time at all.
Now I am going to explain all the HTVs on how to make them work.
1. Siser EasySubli
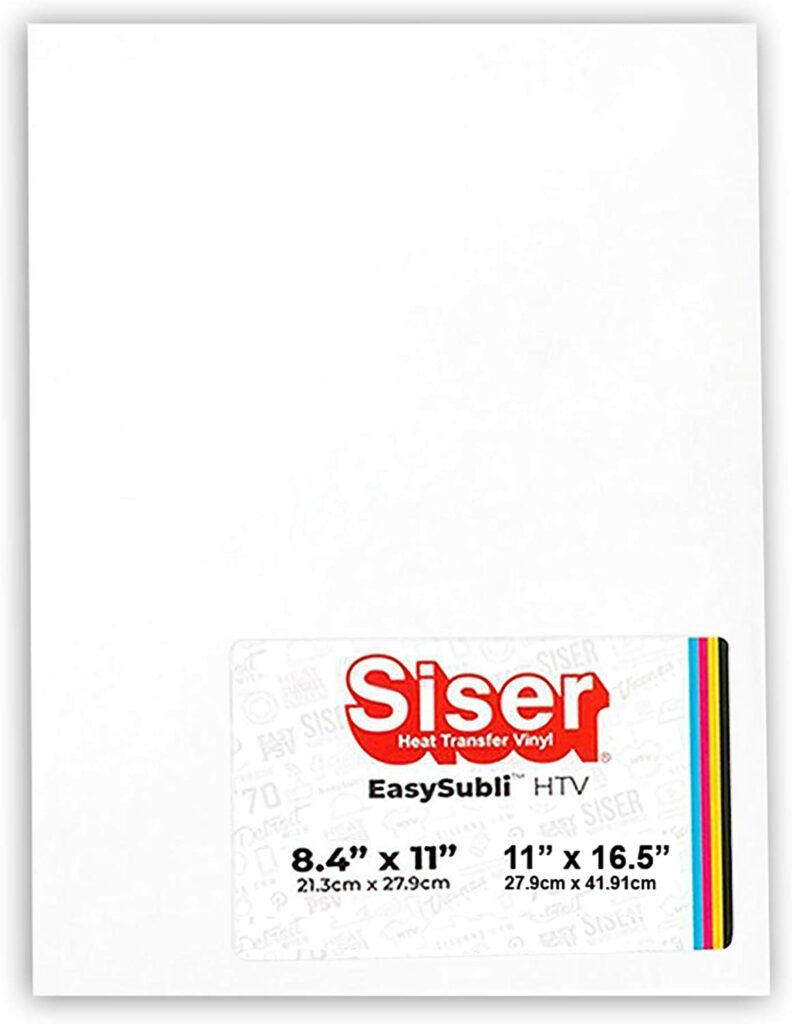
One of the most effective ways to transfer sublimation onto a cotton substrate is by using Siser EasySubli, a vinyl-based product that delivers vibrant and detailed results.
With this method, you will need to print your image on your sublimation printer and cut it out using Design Space and your Cricut machine. Once you have weeded the excess material from the vinyl, you can remove the EasySubli liner from the mask and place it on top of the vinyl.
Make sure that your substrate is ready for sublimating on vinyl, preheat it for 5 seconds before pressing it with medium pressure at 311 degrees for 15 seconds.
Afterward, warm peel the mask and EasySubli from the backing and place them where you want to press them onto your substrate.
For best results, cover everything with butcher paper or Teflon sheet before pressing.
When using Siser EasySubli, be sure to follow all printing techniques as well as weeding processes carefully. Preheating substrates is also crucial in ensuring that they are ready for transfer.
Finally, use proper peeling techniques when removing materials from the backing to prevent damage or distortion of images. With these tips in mind, you can achieve excellent results when sublimating onto cotton using Siser EasySubli as your preferred method.
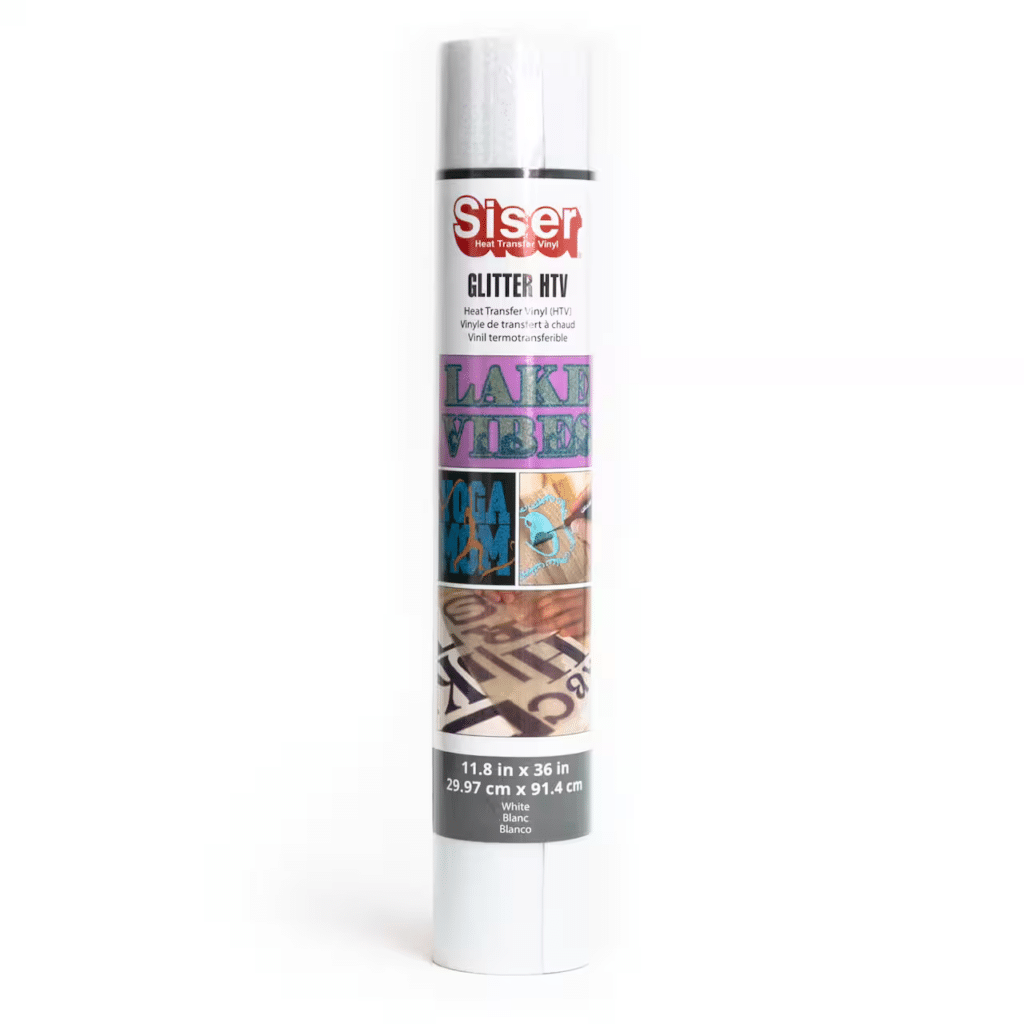
2. Glitter HTV
If you’re a fan of glitz and glam, using glitter HTV for sublimation is like adding a sprinkle of fairy dust to your designs. The colors come out just as vibrant as they do on 100% polyester shirts but with added sparkle.
Here are some tips and tricks for using glitter HTV for sublimating onto cotton:
- Use the ‘print then cut’ technique in Cricut Design Space to create both a sublimation transfer image and an offset ‘basic cut’ image for the glitter HTV. Make sure to mirror the basic cut image before cutting.
- Preheat your substrate for 5 seconds before pressing the glitter HTV onto it at 380 degrees with medium pressure for 7 seconds (just long enough to tack it). Warm peel when done.
- Align the sublimation transfer onto the glitter HTV, getting it as close as possible to the edges of the glitter HTV. Tape down and cover with butcher paper before pressing at 380 degrees for 60 seconds.
When troubleshooting common issues, make sure that you’ve mirrored your basic cut image and that you’re preheating your substrate before pressing each layer of vinyl onto it. To find copyright-free images, try websites like Design Bundles or JPIBlanks.com which offer thousands of designs and fonts for ProCreate, Cricut Design Space, and more with commercial use licenses included.
3. Clear HTV
You’re going to love using clear HTV as a base for your sublimation transfers because it allows you to apply very detailed images onto light-colored cotton substrates – and the best part? It’s pure genius!
One of the best cotton substrates for this method is a white or light gray shirt. When applying clear HTV, make sure to check the side that needs cutting – it’ll be the glossier side of the sheet.
To ensure a successful clear HTV application, use Cricut Design Space to create both ‘print then cut’ and offset ‘basic cut’ images. Print your design using your sublimation printer and cut out your image from the basic cut offset. Mirror this image before weeding away any excess material.
Preheat your substrate for five seconds, then press your clear HTV at 325 degrees Fahrenheit for 10-15 seconds with medium pressure until it tacks on completely. Make sure to cold peel when done and align the sublimation transfer as close as possible to the edges of the clear HTV before pressing again at 380 degrees Fahrenheit for 60 seconds.
For troubleshooting sublimation on cotton with clear HTV, if it doesn’t release when peeling off after cooling down completely, try peeling off some edges of backing or stretching some parts since they’ll rebound once pressed again for sublimation.
With creative designs using sublimation on cotton through a clear HTV application, you can experiment with different patterns such as floral prints or geometric shapes onto light-colored shirts or tote bags.
4. Siser Glow HTV
When it comes to adding a little extra pizzazz to your designs, Siser Glow HTV is the perfect choice for giving your sublimation transfers an added touch of magic. Not only does this type of vinyl give you a unique way to add glowing effects to your designs, but it also allows you to create stunning glow-in-the-dark designs that will make any garment stand out in low-light situations.
To get the most out of Siser Glow HTV, there are a few tips and tricks you should keep in mind.
First off, make sure you use Cricut Design Space’s ‘print then cut’ technique along with an offset ‘basic cut’ image when creating your design. This will ensure that your design is properly aligned and ready for transfer onto cotton or other fabrics using the sublimation process.
Another tip is to preheat your substrate before pressing the Siser Glow HTV onto it. This will help ensure that the vinyl adheres properly and creates a lasting bond with the fabric. Additionally, remember to cold peel after pressing so that the vinyl can cool down completely before being removed from the backing material.
Overall, using Siser Glow HTV for sublimation on cotton opens up many creative possibilities and adds a unique touch to any design. By following these tips and experimenting with different techniques, you can create truly one-of-a-kind garments that are sure to impress.