How to Convert Epson Ecotank Printers For Sublimation
After years on the back burner as a hobby for stay-at-home parents, sublimation has finally hit the mainstream – and unsurprisingly, it was an instant hit!
Being able to make your own tees, mugs, and even toes is nothing short of epic, but there’s one problem most of us get stuck at, and that’s the fact that it isn’t the most expensive of hobbies to pick up.
Thankfully, there are ways you can make it less bank-breaking, and below, we’re going to discuss one of the best ways to make sublimation printing more affordable: refitting an affordable Epson EcoTank to being your own sublimation printer!
Just How Much Are You Saving By Doing This?
We’ll compare the prices to show you how much you’ll save through this trick. Something like a Sawgrass SG-500 hovers around $600 on Amazon – it’s a reliable purpose-built printer and one that a lot of sublimation printing hobbyists use.
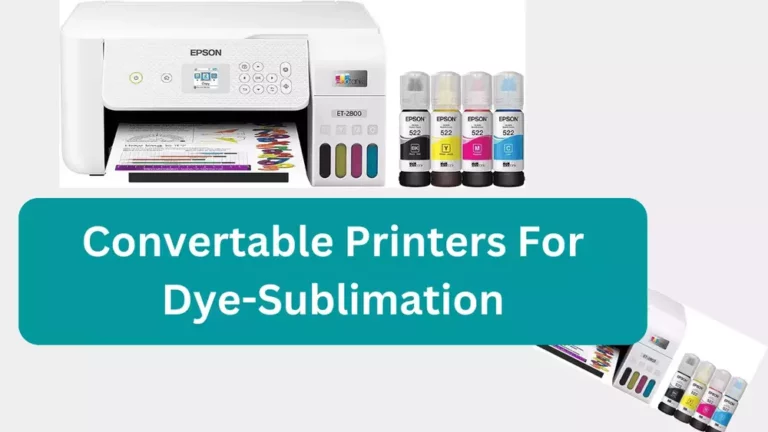
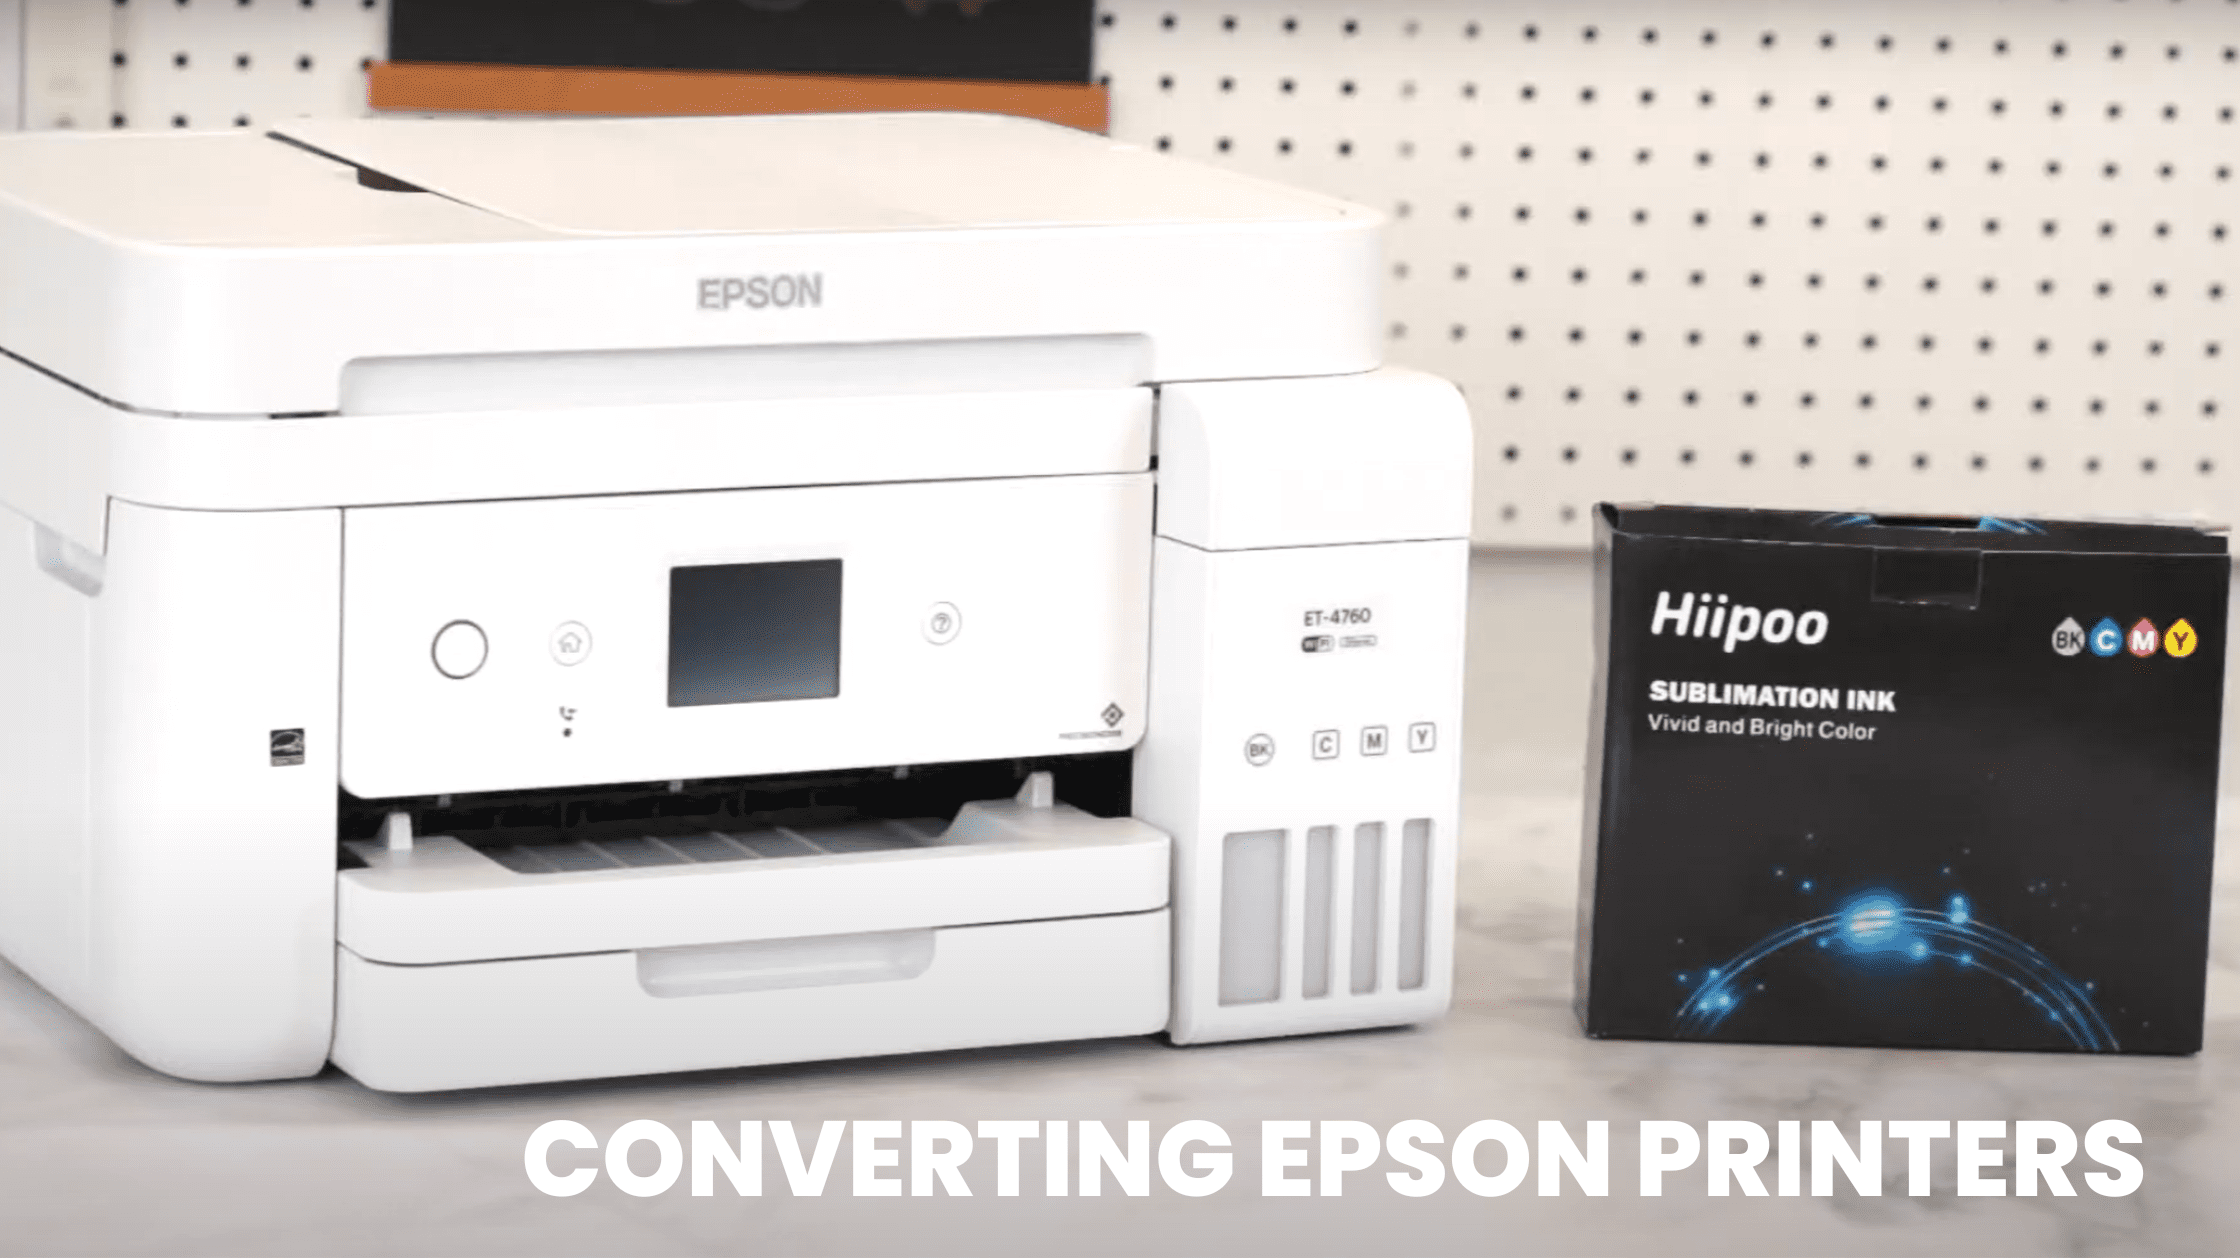
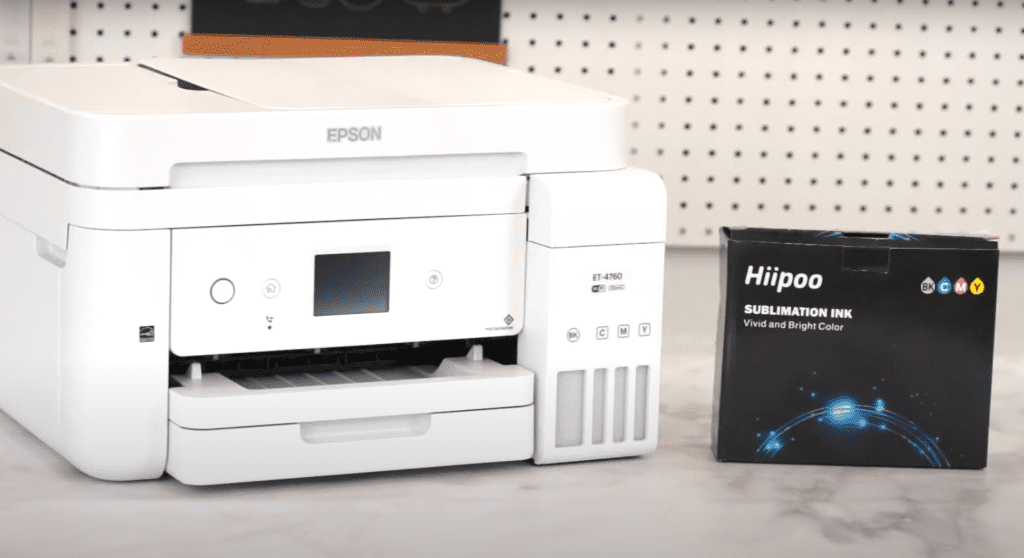
On the other hand, the regular printer we’re converting, an Epson EcoTank ET-4760, is just $330 on Amazon. The three hundred big ones you’re going to save will go a long way towards making this a more affordable hobby, though you could probably save more if you get lucky to get some deals.
To go a bit further with making sublimation printing an affordable hobby, we’d advise picking an ink brand that lasts for a while.
Hiipoo’s 100ml ink bottles offer pretty good value for money (around $1.7 per Fl. oz), while WOKOK (a less well-known brand) offers their stuff at around $0.96 per Fl. oz.
What’re You Going to Need?
All you’re going to need to convert your Epson EcoTank into a sublimation printer is a brand-new printer (not old or second-hand), a pack of sublimation inks, and some test paper to calibrate your new printer. There’s no expensive kit involved (at least, not the way we’re doing it), and the best part is you’ll spend a maximum of an hour making the conversion itself.
Here’s what you need to convert your Epson EcoTank into a sublimation printer:
- A brand new Epson printer that has never been plugged in or switched on.
- The printer shouldn’t have been filled with ink before you make the conversion either.
- A bottle of sublimation ink.
Also, once you’ve converted it, the printer won’t be covered by Epson’s warranty anymore.
Which Ink to use?
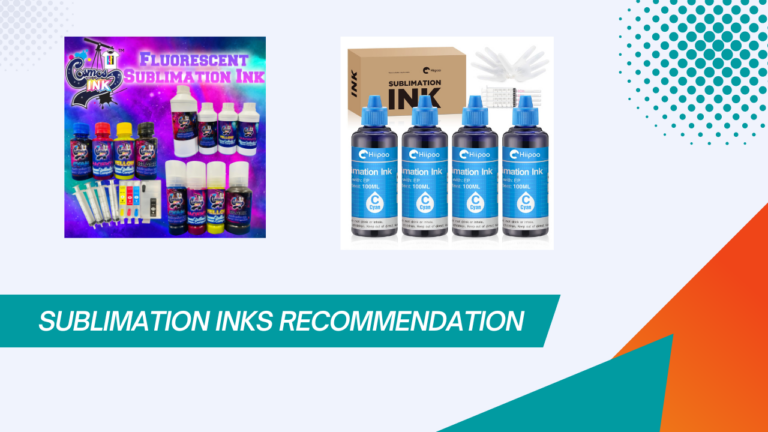
We’ve got one last tip before we get started – and it’s one that makes all the difference. Instead of buying the cheapest option, you’ll want either the Hiipoo Sublimation Ink or the Cosmos Sublimation Ink. Both come with the EcoFill cap that makes it way easier to fill up the ink tanks, but the real question is: which one offers the best quality at the lowest price?
Hippo Ink vs. Cosmos Ink: Which One Should You Be Using?
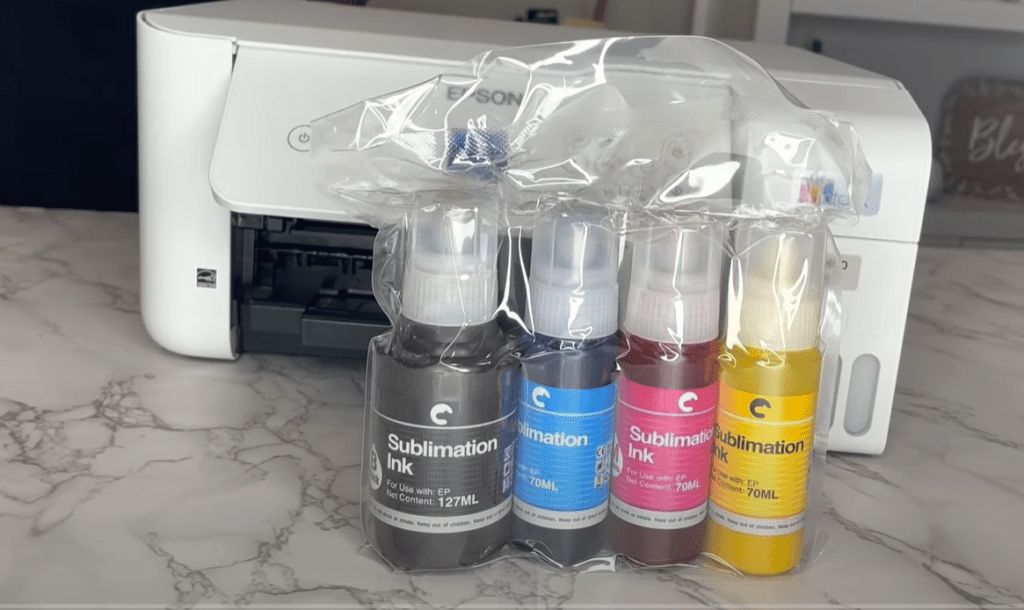
Hiipoo and Cosmos are both great DIY companies, and their inks are staples for EcoTank printers because they come with EcoFill caps. We’ll compare a few points, though, so you can get a basic idea of which one suits your needs better (psst: it’s Hiipoo).
- Price: Both Hiipoo and Cosmos hover at the same price. You’ll find a 4-pack of Hiipoo 100ml bottles on Amazon for around $26.50. Alternatively, Cosmos offers their 4-pack of 127ml bottles on their website for $40.
- Vibrancy: We’d like to say it’s an even competition, but it’s really not. If it’s the quality you’re looking for, it just doesn’t get any better than Hiipoo. Cosmos is pretty decent, but works better for things like mouse pads, while Hiipoo offers richer colors when used for t-shirts, tumblers, and especially wooden stuff.
- Compatibility: Pretty close run, and there’s no clear winner here because both Hiipoo and Cosmos inks work with almost every single Epson model out there.
- Nozzle: This is pretty much THE most important point, and for good reason too. Most Cosmos bottles will need you to manually fill the ink tanks with a syringe, while Hiipoo has already adopted the EcoFill nozzle which lets you just tip the bottle into the reservoir.
In the end, we’d have to recommend the Hiipoo Sublimation Ink. It offers richer quality than the Cosmos inks and is generally cheaper than Cosmos stuff (it’s like twenty bucks on Black Friday), and Hiipoo inks always come with the easier EcoFill nozzle. Get one of these and forget about the annoying syringes.
Here Are the Steps to Convert an Epson Printer for Sublimation
You probably think it’s going to be a grueling process. You might be feeling a little overwhelmed with the tool kit you bought (and ended up never using it, we’ve all done that). Luckily enough, it’s not that hard: all you’re going to be doing is filling up the empty printer ink reservoirs with sublimation ink instead of normal printer ink.
When that’s done, we run a few tests to calibrate how much ink you’ll need, and voila, your budget sublimation printer’s good to go!
Here’s how you get started with filling your ink tanks the easy way:
Filling Your Ink Tanks
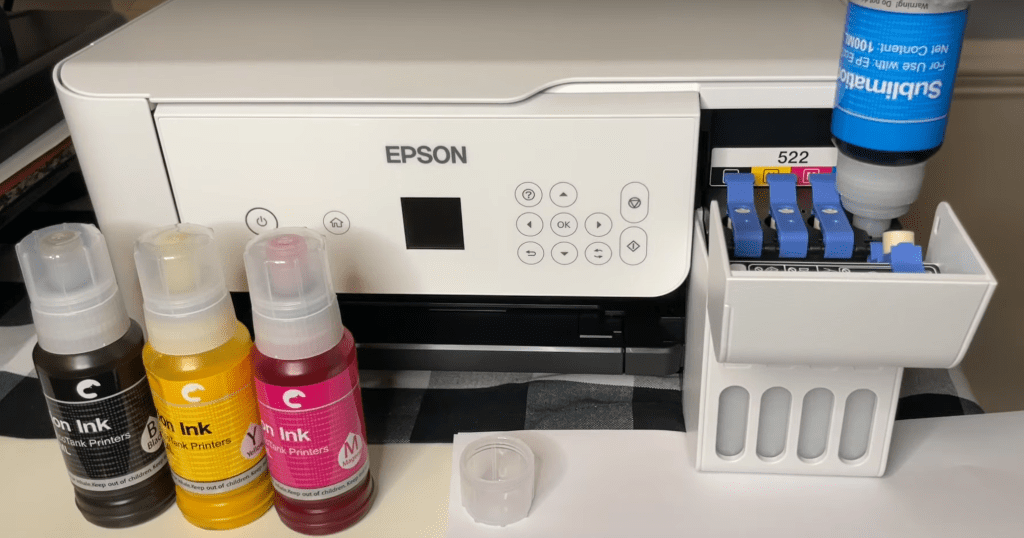
- First, lift up the top of the printer and lean it back. Be careful: you’ll need some effort, but don’t damage your printer cover!
- Open the ink reservoir lid, and lift up the blue (they were blue for us, at least) covers one at a time.
- Next, it’s as easy as tipping over your ink bottle into the appropriate tank. The EcoFill cap we mentioned fits into the tank hole easily, and you shouldn’t need to squeeze it.
- Give the ink reservoirs a tap to see if it’s really full. Sometimes the ink sticks to the walls and makes it appear full when it isn’t.
- Once it’s at the top line, you’ll want to wipe off any drips. This stuff stains in no time at all, and we doubt you want that on your brand-new printer!
- Do the same thing with all your ink tanks, and your sublimation printer is set!

Setting Up Your Printer
Once your ink tank’s filled, it’s time to set up your printer and test out the print quality. You’ll be surprised how important this part is: without testing, you might be wasting almost as much ink as you’ll use for printing!
Here’s what you’re going to do after you’re done filling your ink tanks:
- Connect the power cord that came with the printer to the little plug for it in the back of the printer, and connect it to an outlet. Don’t connect it to your computer yet though.
- Next, raise the control panel and power your EcoTank on. This could be a touchpad or a couple of buttons (it depends on the model you bought, really.)
- Your printer will ask you to confirm that the tanks are filled up. Run a second check to make sure that they are (remember how we said they might look, but actually aren’t?), and press “Okay”.
- The EcoTank will show that it’s “initializing”, which means it’s drawing the ink up into the printer.
- Once it’s done initializing, you’re going to insert the paper into either the front tray or the back loader. Most printers have instructions printed on the tray itself, but you’ll generally want to put your paper face down.
- Once you’ve pushed the filled-up paper tray back in, your printer’s going to run a couple of tests.
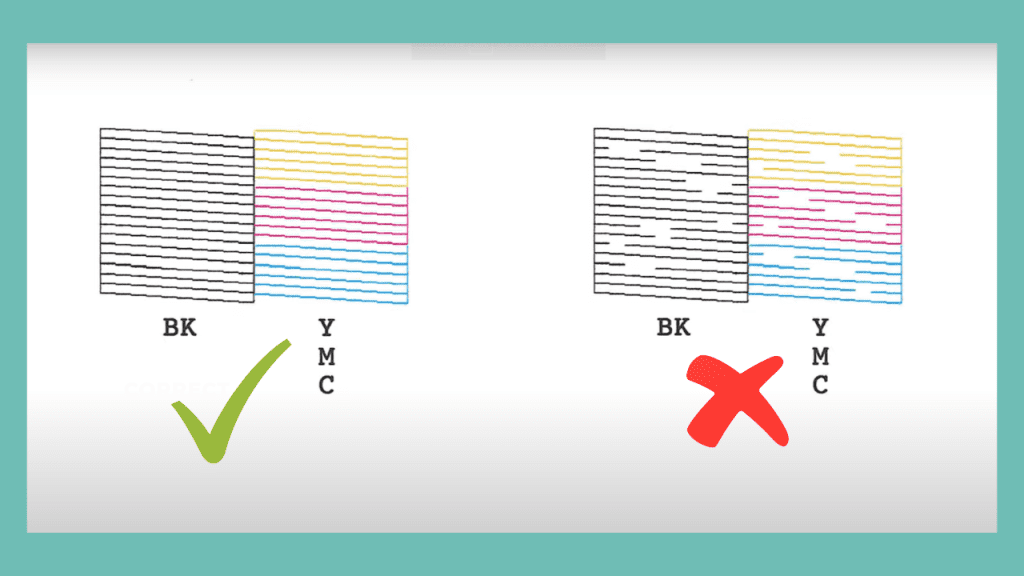
- It’ll print a series of test lines on the first sheet. You want unbroken, clean lines from all four colors: if they appear broken, take the sheet out first and press the cross. The printer will clean the print head (it might be anywhere from 1-3 times), and print again. Repeat this process until you get unbroken, vibrant lines.
There are a couple more tests left, like the Alignment and banding test. These are easy enough to do yourself, so just follow the instructions displayed on the printer screen and you’ll be good.
Connecting Your Printer to Your Computer
- Complete the tests and use a standard USB cable to connect your printer to your computer. The cable might or might not come with the box. They don’t cost more than a couple of bucks anyway, not a big deal.
- Next, we’re going to get the drivers. You’ll get the drivers for your model at epson.com/support: enter your product name, choose your operating system, and you’ll find a combo drivers-and-utilities package installer.
The Takeaway
In this post, we’ve presented some of the key factors to consider, from selecting the best sublimation inks to converting your EcoTank printer. If you take each of these considerations into account and carefully plan your design process, you’re bound to end up with a professional-quality sublimation print!