Sublimation for Beginners: A Step-by-Step Tutorial
I often get asked about sublimation printing, and where to begin. Though it’s fairly straightforward, it can be hard to know where to start as a beginner in the craft process: all the tools you need, what goes into deciding the best ones, the simplest ways to learn… et cetera.
I thought I’d create a basic guide, breaking down all the “do’s” and “don’ts” of sublimation printing, with some extra tips along the way. Whether you’ve invested in a full-fledged custom clothing venture or are just looking to convert a printer for sublimation, I’ll make sure this guide is convenient and quick!
How does Sublimation Work?
Before we dive into the “how to”, let’s quickly cover the “what is”…
Sublimation is a process where we transfer a design from a paper infused with ink onto a substrate – or “material” – using heat. At high temperatures, the ink turns into a gas and binds to the molecules of the surface fibers. Once the design transfers, it is chemically bonded to the target for wash-resistant custom designs.
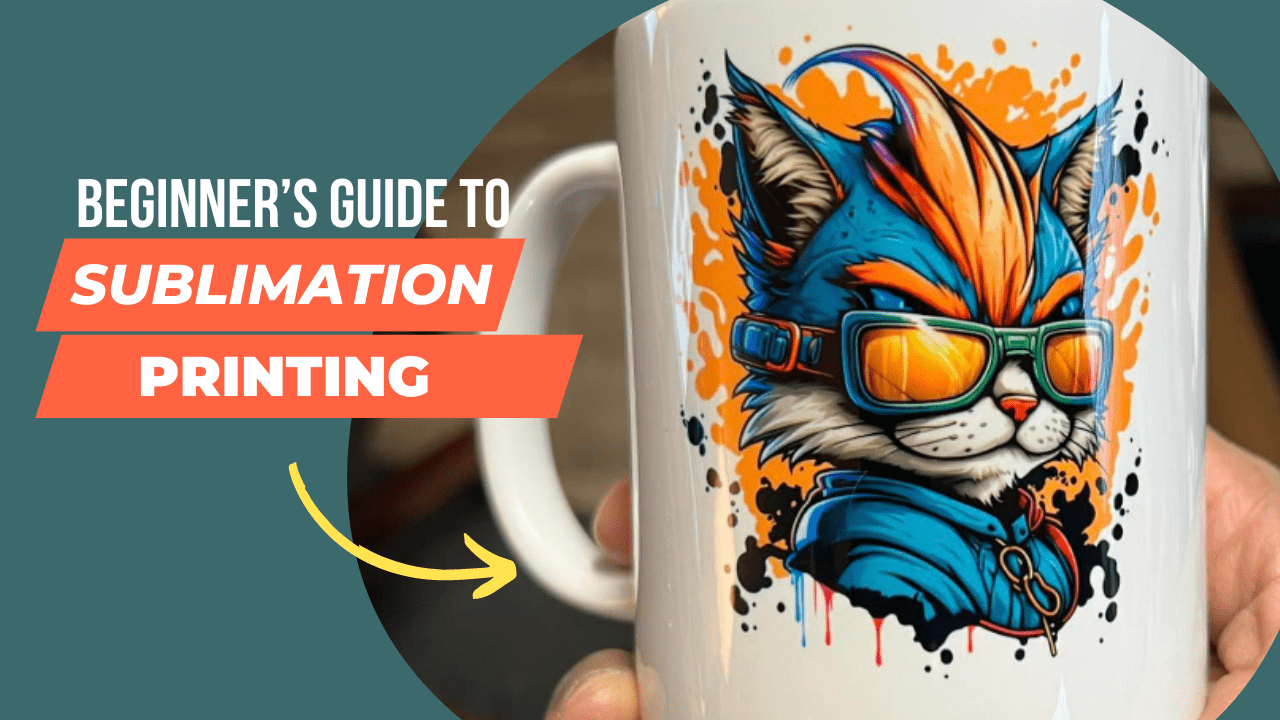
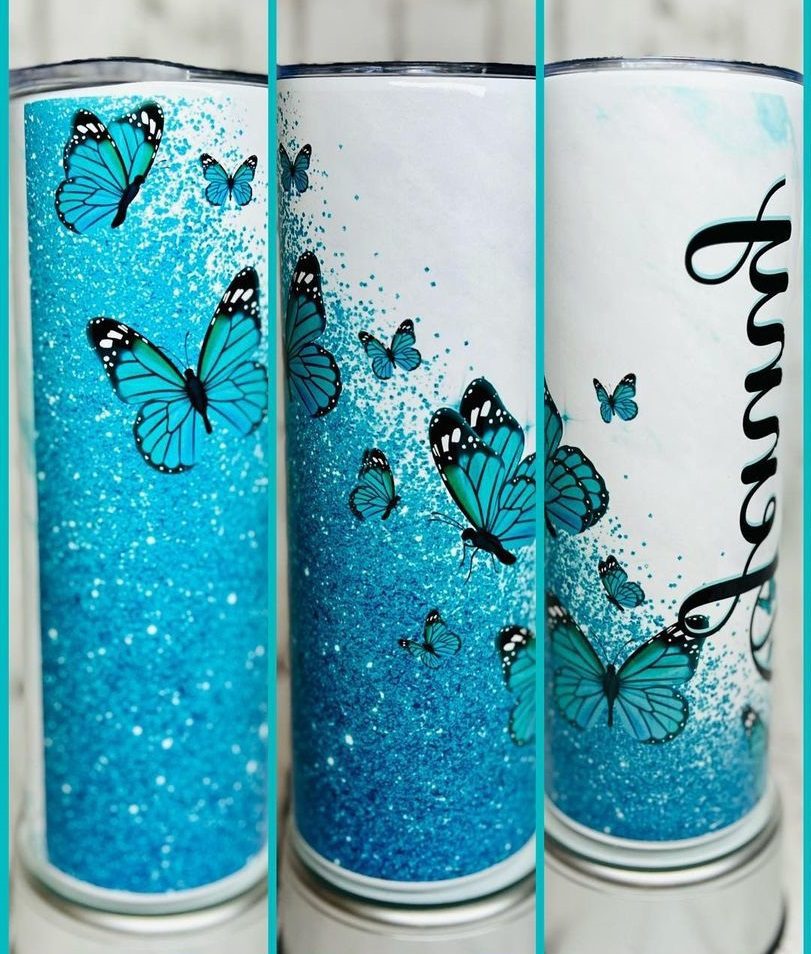
Sublimation can be used for creating custom clothing such as t-shirts or bags, or on ceramic items such as plates or tumblers.
Due to the high heat requirements, not all fabrics are suitable for sublimation. The process works best with substrates containing high amounts of synthetic fabrics such as polyester.
Unlike DTF or other more involved methods of design printing, sublimation is fairly accessible with a handful of key steps. Understanding sublimation printing is important, as it can help you troubleshoot any issues as they arise.
Sublimation for Beginners: What You Need

- Sawgrass Virtuoso SG500 sublimation printer. Brand new.
- Sublijet UHD Sublimation Inks CYMK (starter kit ink cartridges).
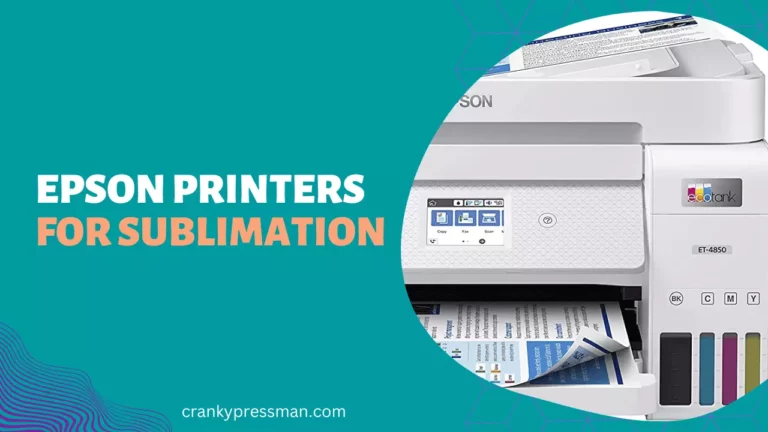
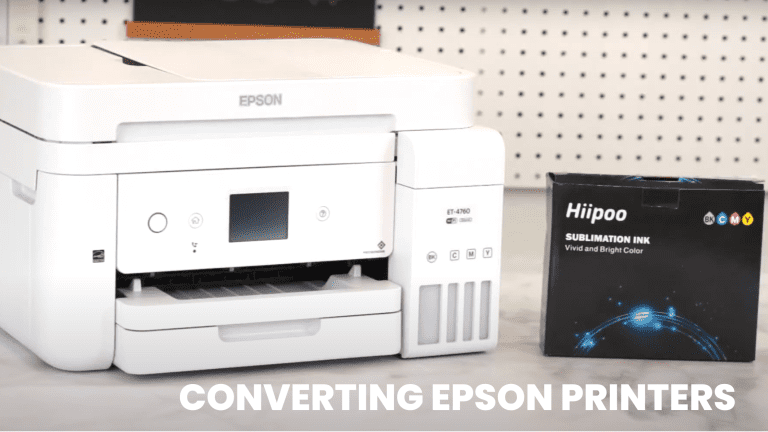
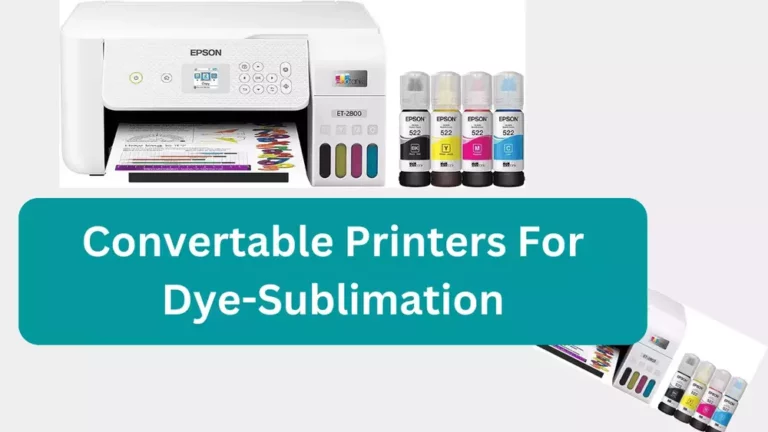
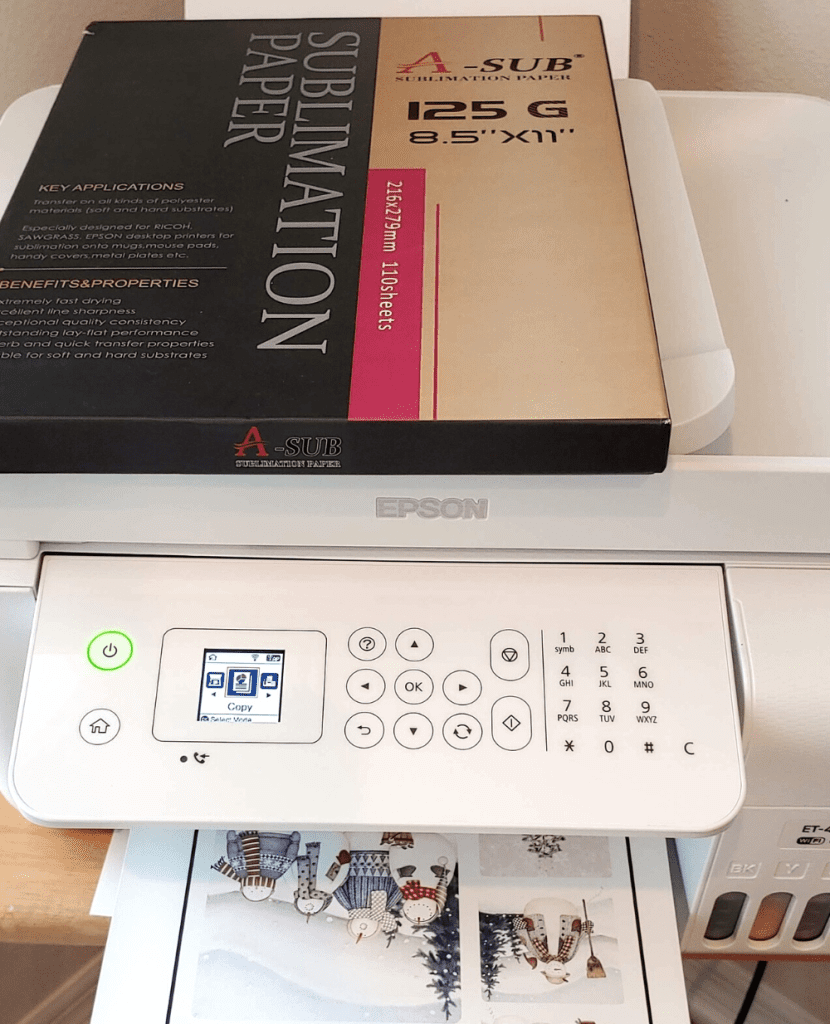
In order to start in sublimation, there are a few core tools that you’ll need. The first, and most obvious, is a sublimation printer. These come in a variety of shapes and sizes, from converted standard Epson printers to commercial-grade units, but they are the essential tool for printing a design that you can use. For a purpose-built sublimation printer, I recommend the Sawgrass SG500.
Remember that converting a compatible Epson or other-brand printer for sublimation is an irreversible process, and will likely void your warranty.
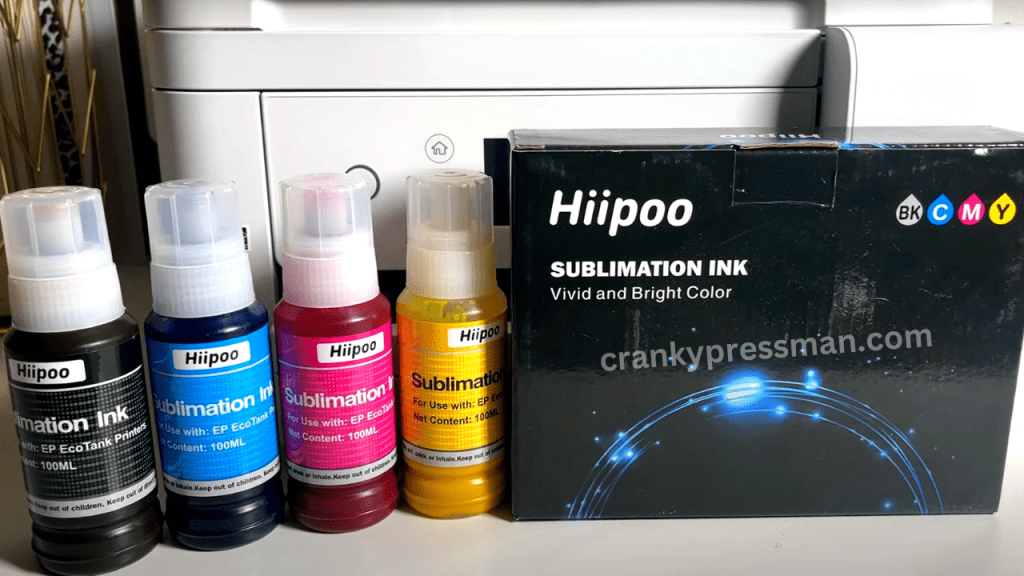
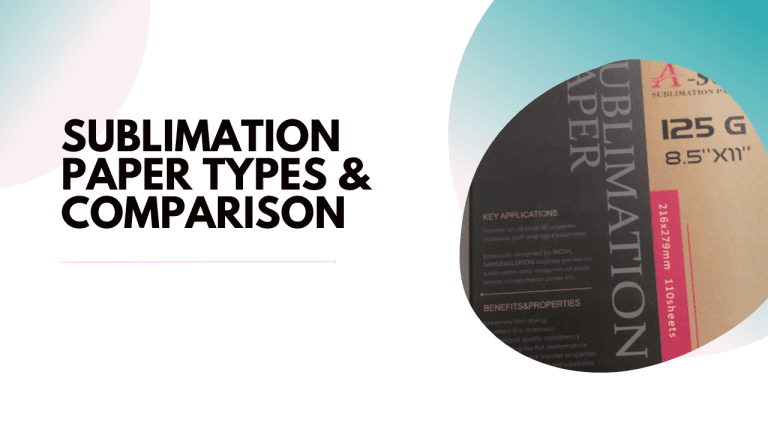
Next, we require the items to feed into that printer, starting with sublimation ink. At high temperatures, this ink will become gaseous and transfer to your substrate. In order to do so, however, it needs to be printed onto specialist sublimation paper.
If you are designing from scratch, you’ll also want to invest in some appropriate design software. Any classic design program such as Photoshop or Canva should be compatible, so long as it can convert to standard image formats. To help you get started, here are some free sublimation designs I picked out.
With the design itself sorted, next you need to choose what you are going to sublimate onto. There are a range of blank products on the market for people to sublimate onto, ranging from clothing to cookware. They all require different configurations for different purposes, however, so I’ll discuss them more later.
Try to have spare substrate available for redundancy’s sake. In the best case, you have extra material for your next print – but the worst case is a ruined, irreversible print.
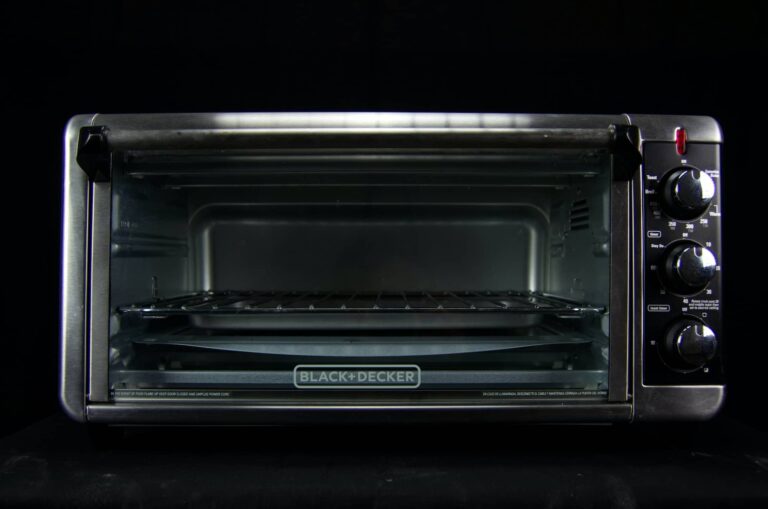
The other major tool you need is a heat press machine. This is somewhat dictated by your choice of substrate, as there are specialist machines for different purposes such as tumbler heat presses. For clothing applications, the most common market for sublimation, I recommend a flat-top heat press.
With these essentials out of the way, there are a few other items I recommend investing in. To avoid damaging your print, I recommend having some butcher paper or similar layer to place with the substrate. To avoid damaging yourself, heat-proof gloves are essential for removing your substrate from the heat press. Heat-resistant tape is also useful for aligning your elements in the press. Finally, craft tools such as scissors are useful to have on hand.
Sublimation for Beginners: How to Sublimate
Finally, let’s get into the steps required for these tools. For this example, I’ll be sublimating on a shirt as the guideline – there are some subtle differences depending on the substrate used, that I’ll point out as we go.
Always run a test print before committing to any important sublimation printing, as it can help you flag up any errors and save you valuable materials.
First, let’s get our design ready. Once your printer is up-and-running, make any changes that you need to the settings, and print your design. Set it aside to dry nearby.
Prepare
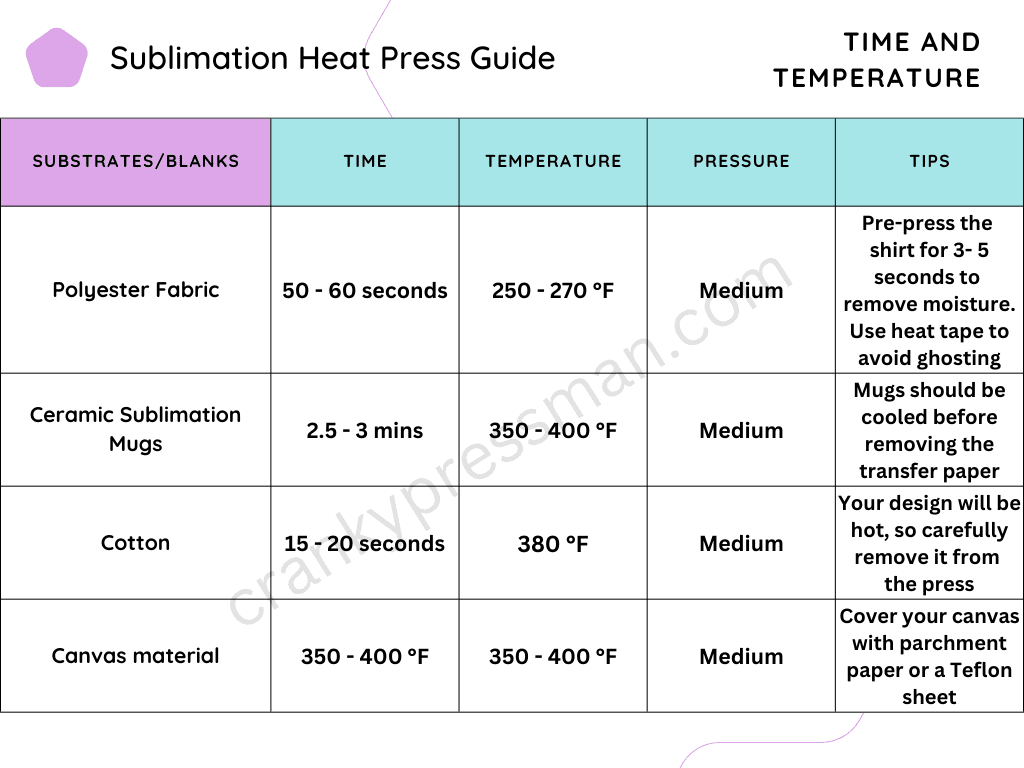
Whilst the print itself dries, let’s get everything else ready. Preheat your heat press machine to the appropriate temperature: in the case of our polyester shirt, that’s 270°F. Here’s a guide on the other heat press settings for the most common substrates:
Whilst that heats up, prepare your substrate by giving it a pass with an iron to remove any creases or wrinkles. Once your print is dry, cut away any excess sublimation paper and cut a similarly-sized sheet of butcher paper out.
Place your shirt into the heat press machine, giving it a quick press to iron out any wrinkles if necessary. Place your sublimation print on top of it, followed by your butcher paper.
You can use heat-proof tape to line everything up so it doesn’t move.
Press
With your components aligned and your press pre-heated, it’s time to sublimate. Press your design and substrate together for the allotted time, 50-60 seconds for a polyester shirt, then remove. Leave it to cool for a little while, and use heat-proof gloves to remove it from the press.
Make sure you get your timings on the heat press right: too long and you risk burning or browning the design, too short and you’ll end up with a design that’s too dark or faded.
Once it’s cooled, you’ve successfully sublimated your design!
FAQs
Whilst you can use an iron as a budget heat press, the results aren’t as consistent and it can be more difficult to use on more varied substrates such as vinyl.
Sublimation is easy to learn, but hard to master: there are a wide range of different techniques and materials to experiment with. I encourage beginner sublimation crafters to try these out and develop naturally.
Final Word
I hope that this guide on sublimation for beginners has been helpful and that you can begin to create custom clothing with confidence. There is plenty to learn about sublimation, with many varieties to explore, but this is certainly a good place to start.
For more tips and tricks with sublimation printing, including troubleshooting issues with sublimations not transferring, keep up-to-date with me here at Cranky Press Man!