How to Remove Vinyl from a Shirt
Heat Transfer Vinyl (HTV) is a widely-used technique to print designs and logos on fabrics to customize them. Once you press the vinyl on the material using the heat press and allow it to set for some time, it becomes inseparable.
But what if your design printing went wrong?
The design became askew and now looks terrible and uneven. Are you planning to discard the shirt? Don’t.
Believe it or not, all designers face this issue where something goes wrong during the transfer stage, and the whole project becomes useless. But why throw a perfect shirt when you can remove the vinyl?
Related: Sublimation Vs Heat Transfer Vinyl
8 ways to remove the vinyl design and reprint it if you like
1. Remove Vinyl Using Boiling Water
This method is probably the easiest to remove the vinyl from a shirt and doesn’t require expensive items.
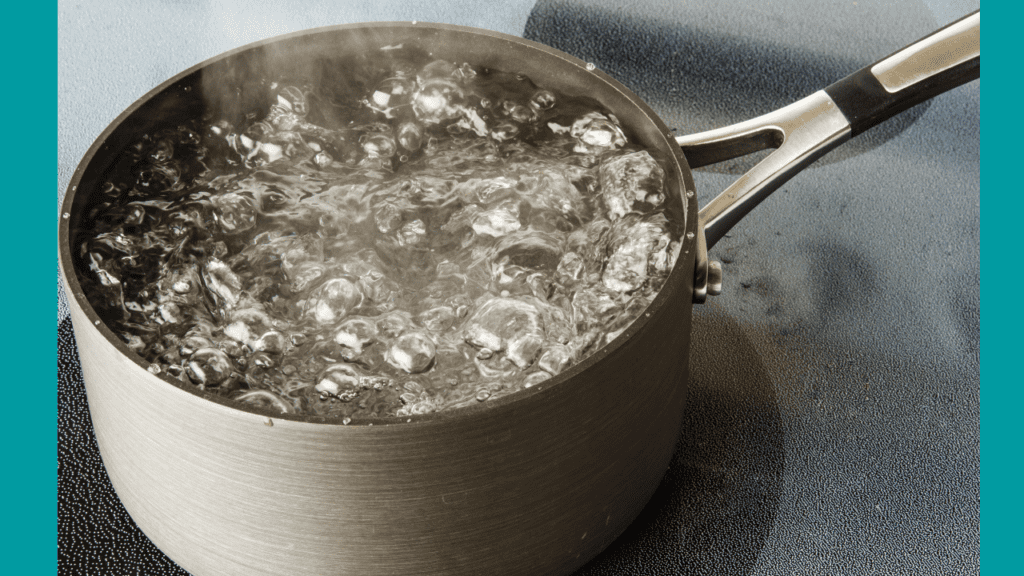
- Boil water and transfer it into a bucket or tub.
- Submerge your fabric with the vinyl design for a minute, then pull it out.
- Now, lay the fabric flat and try to peel off the design.
Please don’t use your fingers because they won’t be able to withstand the heat; use tweezers. Try to peel off the vinyl and target small areas.
2. Remove Vinyl Using an Iron
It might sound counterintuitive, but the hack works. Vinyl attaches to the fabric when you press it using a heat press for a specific amount of time.
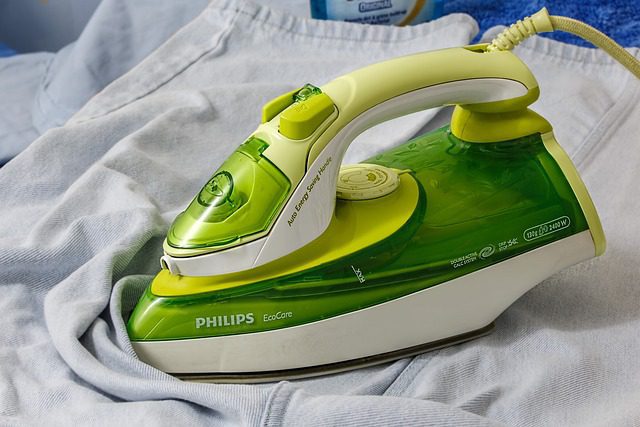
But you can use heat to remove the same vinyl from the shirt.
Before proceeding with this method, remember to perform this while the iron is plugged in. So, you need to take precautions and hold the handle firmly. Here’s how:
- Plug the iron into a wall socket and adjust it for a medium to high heat setting.
- Once the iron heats up to the desired temperature, lay your shirt over the iron so that it is directly in contact with the backside of the design.
- After that, pick up your tweezers and try to peel off the vinyl from the shirt. It will easily peel off because the direct heat from the iron will start melting the glue.
Repeat the process until you remove all the vinyl from the shirt.
Power off the iron and carefully take off the shirt. Allow it to cool off for some time before using it.
3. Remove Vinyl Using Rubbing Alcohol
Rubbing alcohol can break the bond between the adhesive and the vinyl. After that, you can peel off the vinyl from the shirt with minimum effort.
Please take a few drops of rubbing alcohol and spread it on the vinyl design area on the shirt. Allow the rubbing alcohol to seep into the fabric. Then use a Cricut weeding tool or tweezers to pull apart the vinyl design. Be judicious with rubbing alcohol.
Make note that this method will leave some residual glue on the shirt. It is more of a workaround rather than a permanent solution.
4. Remove Vinyl Using a Hairdryer
Like rubbing alcohol, this method is also a workaround to remove the vinyl from the shirt without requiring dedicated tools. All you need to do is adjust the hairdryer to maximum heat settings. Direct the hot air on the vinyl design on the shirt to melt the adhesive.
It will take longer than the iron methods because the surface isn’t in direct contact with the heat source. Now, use tweezers and scrape the vinyl design off the shirt. Remember that this method is only effective on smaller designs and will take longer.
5. Remove Vinyl Using Acetone
Acetone is also an effective chemical solution for vinyl removal. Unlike rubbing alcohol, be very careful while using acetone.
- Spread out the shirt on a flat table or pad.
- Now, spread the acetone on the vinyl area and allow it to work its magic for 30 seconds to one minute.
- Use tweezers with a fine tip to extract all the vinyl from the shirt for the peeling part.
Don’t forget to peel off the fragments, which can stay on the shirt while pulling a more significant chunk of design.
6. Remove Vinyl Using Letter Removing Solvent (LRV)
LRV is a fantastic product developed by AlbaChem to solve the issue of incorrect vinyl placement and removal. It is the easiest, most clean method to remove the vinyl design from a shirt without overheating it. Iron or other heating method works better for fabrics that can withstand high heat, but for synthetic materials, use LRV.
Repeat the following steps:
- Put on a pair of chemical-resistant gloves. Take the shirt and put one hand underneath the vinyl design. It will serve as a guiding hand for spreading the LRV.
- Now, remove the LRV cap and spread it on the vinyl area you want to remove.
- Pick up a pair of tweezers and peel off the vinyl design.
You will notice that there isn’t any residue left on the shirt because LRV removed it.
7. Remove Vinyl Using Goo Gone
Goo Gone finds usage in the repair and paint industry, but you can also use it to remove vinyl. Like LRV, you must take safety precautions and avoid getting it in contact with your skin. Wear chemical-resistant gloves and turn the shirt inside out.
- Put a few drops of Goo Gone on the vinyl area and allow the shirt to absorb.
- Now, turn the shirt inside out again and peel the vinyl from the fabric with tweezers.
- If some part of the vinyl refuses to come out quickly, use some more Goo Gone on the back side and extract it.
8. Remove Vinyl Using WD-40
Like Goo Gone, WD-40 also removes glue residue from surfaces. WD-40 doesn’t sound catchy but will produce similar results as you would observe with Goo Gone. It is also a chemical product, so don’t use it without chemical-resistant gloves. Gently dab the back of the vinyl shirt with WD-40 and then scratch it off from the shirt.
Don’t Use Methylene Chloride To Remove Vinyl
Methylene Chloride is a hazardous chemical, and you will find some YouTube videos recommending the product.
Do not use this solvent at all.
Even newer products like LRV come with a warning that it doesn’t contain Methylene Chloride. Using any other method to peel off the vinyl rather than a Methylene Chloride solvent is better.
If you don’t want to spend money on LRV, use the iron method, it is simpler and doesn’t involve a health risk.
Remove Vinyl For Good
HTV projects can encounter printing errors, especially if you are a novice. Start with basic methods like warm water or heating and extract the vinyl from the shirt. It won’t be a pristine removal, but at least you can get most of the design out of the shirt. Beneficial for anyone looking to remove a trademark from the shirt.
If you run a printing business (small or large), go with LRV because it will help you fix any imperfections in your design. It will also save you the trouble of overheating and ruining a shirt while peeling off the vinyl.
FAQ
There are multiple methods to remove the lettering from the shirt. You can use a heating method to melt the adhesive holding the vinyl in place and use tweezers to pull it out. Otherwise, you can use a letter to remove chemicals like LRV to break the adhesive bond and then use tweezers to peel the vinyl off.
You will need to apply heat to remove the vinyl from a shirt without chemicals. You can use an Iron (practical), a hair dryer (takes longer time), or a heat press to break the adhesive bond. After that, peel off the vinyl using your fingernail, tweezer, or weeding tool.
You can use Goo Gone or LRV to remove the vinyl residue from the shirt. Both these products effectively remove the glue and make it easy to take apart the vinyl design.
Iron is the most accessible and cheapest method to remove vinyl from a shirt. Just heat it and place the shirt on it while keeping the backside of the vinyl design in contact. Now, use tweezers or a weeding tool to take apart the vinyl—no need to use expensive and hazardous chemicals.